

How can you practice applying the lashes: tips for beginners

Applying the lash extensions is a procedure that requires patience, attention, precision and serious training. Besides the theoretical fundamental theories which you must know about lashes, it’s important that you develop a certain lash applying technique. The way in which you maneuver various tools and accessories has an impact on the quality of your work, but also for your reputation.
As you practice and improve your own technique, you can be more confident in your abilities and you can stand out from other lash artists. Read this article and find out some tips for the beginner lash technicians.
Practice applying the lashes on a dummy
A face to practice lash application can be right for most of the beginners. Practicing on a dummy will give you the most similar work experience compared to a real person. Through an artificial face, you can work both at correcting the posture you have during your job, but also to practice lash techniques.
In order to diminish the discomfort that you feel when you are working and in order to avoid health problems, it’s important that you have a correct posture. In order to do this, place the artificial face at the edge of the bed or on a high chair, then analyze your posture. Here are some tips to prevent neck, back and head pains when applying lash extensions:
- Place the fake face as close to you as possible. Doing this you avoid hunching over the client and later back pains;
- Keep both feet on the floor, with open and straight legs;
- Adjust the bed or chair height which the client is sitting on so that you can keep your back straight;
- The hands have to stay comfortable, at a 90 degree angle from the pillow.
Also, besides having the possibility to have a proper posture at home, on a dummy you can practice applying the strips and eyepatches, of the various lash extension methods, such as how to safely remove them.
Create a practice kit for lash extensions
At the beginning, it’s important to have a training kit in order to train at home. This kit has to contain only the necessary tools and products for an ordinary procedure. Still, it’s not recommended that you use lower quality tools, even if it’s just training, because it will shape your extension technique.
Any training set contains:
- Lash brushes to check if the extensions are all equal, if there are blanks or if any hairs aren’t correctly fixed with the glue gene;
- Primer: applying it is an important step because it removes all the sebum from the natural lashes and prepares the client’s eyelashes for the extensions;
- Lash tweezers: there are different tweezers for different jobs. As you develop your skills, you can experiment with different types of tweezers, so that you can discover the one that suits you best;
- fake lashes in order to practice lash extensions: you can buy either lash strips (that suit the dummy face) but also lash sets of different sizes and curvatures;
- Lash glue: we recommend that beginners use a product with a slow drying time, which allows you to maneuver the hair for a longer period before fixing itself on the natural eyelash;
- The eye strips or eyepatches are used to protect the sensitive skin from under the client’s eyes.
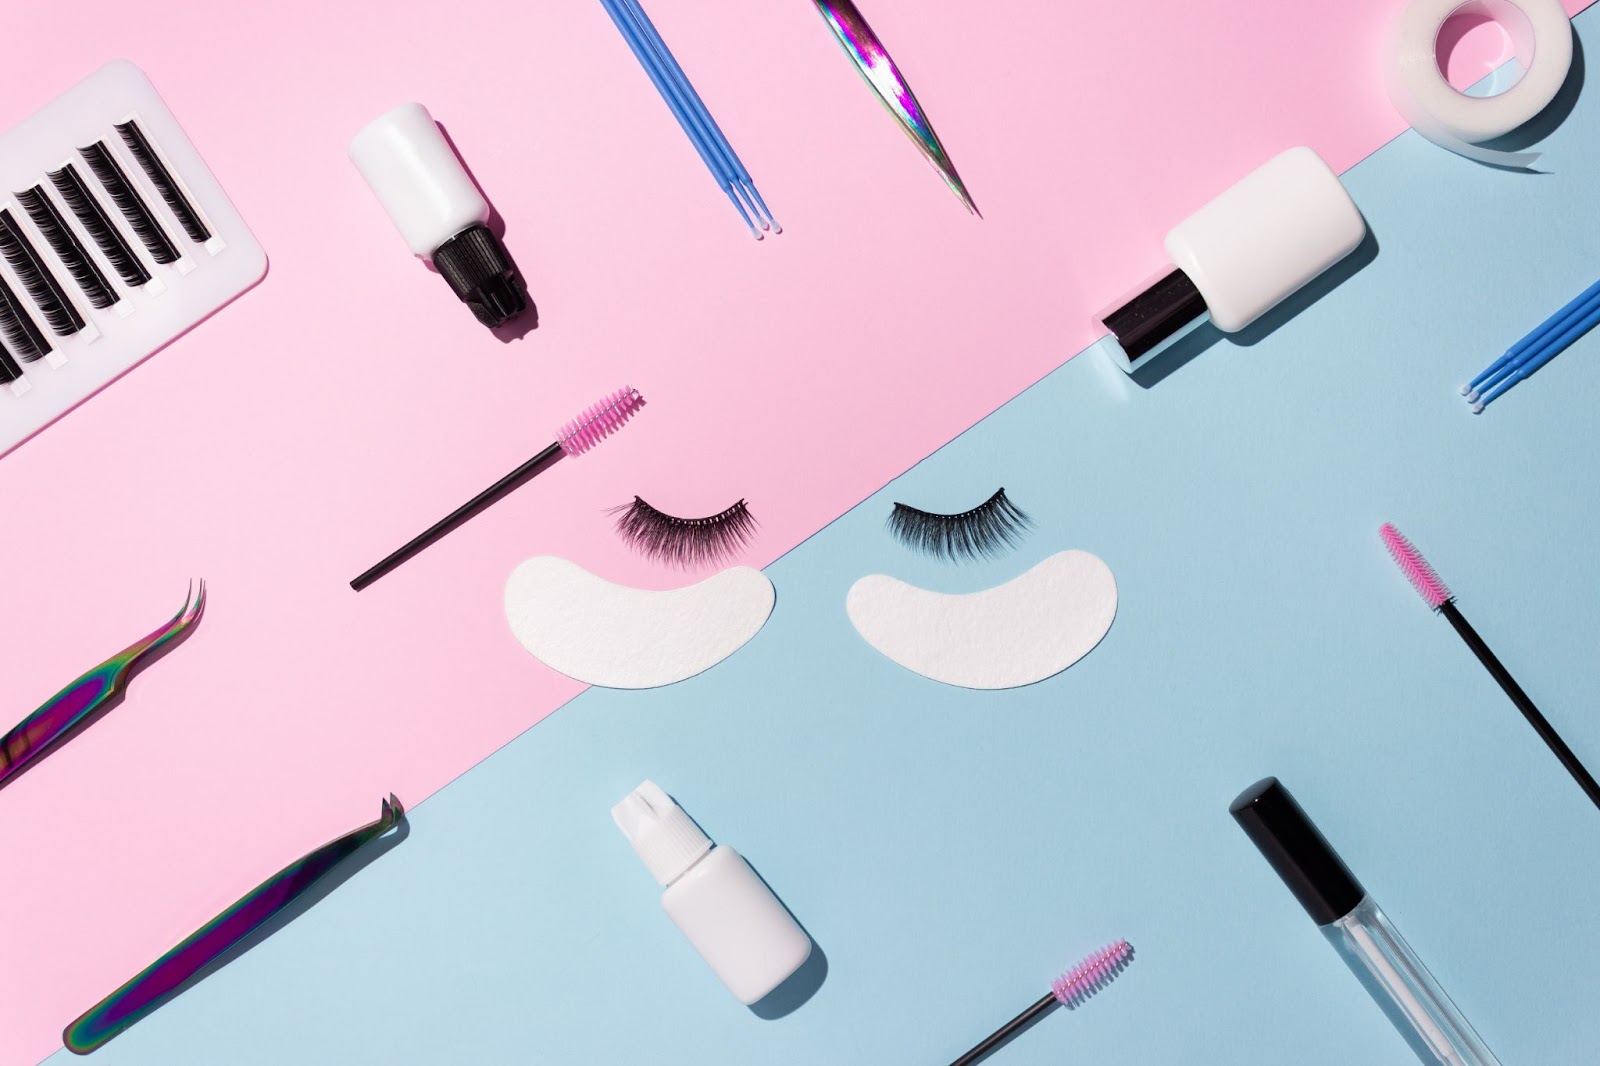
Photo source: Shutterstock
Practice on a sponge
In order to create lash sets that look uniform, you can use a sponge. With this, you can practice the correct applying of the lashes and when you feel like you’ve mastered the technique, you can step up to applying lashes on a real person. Here is how you can do that:
- Fix with lash glue some classic hair of 10 mm on a sponge to simulate the natural ones;
- Begin by fixing the extensions of various sizes on those of 10 mm.
When you practice on a sponge and you can give the lashes a certain direction and you also have the possibility to practice different techniques, that have more or less volume. Try and work slowly in order to perfect your technique, after which you can speed it up once you begin to have a little more confidence in your abilities.
Tips for correctly applying the lashes
Don’t spend too much time to find the perfect lash
When you start out, there is a high chance that you will spend a lot of time looking for the ‘perfect’ lash on which you can attach the extension. Start by working with young lashes and then move on to the longer ones. The shorter hairs are naturally tougher to maneuver, which is why it will take you longer to isolate them and place the extensions on them. After you’ve done this, towards the end you will have lashes that are easier to spot and the procedure gets quicker and quicker.
Correctly place the strips on the lower eyelid
One of the greatest mistakes you can do when applying the strips is placing them too close to the eye. If you manage to do this, you can irritate the client’s eyes or, worst case scenario, even cause a bruised eye. In order to make sure you correctly place the eyepatches below the eyes, keep in mind that they must never touch the water line. For a greater control over the strips, fix them first in the eye’s inferior corners and then easily swipe the strip along the lash line.
Use a proper amount of glue
It can be a challenge when you start out to make sure that you are using the correct amount of lash glue hair by hair. If you are using too little product, the extensions won’t be fixed for long and if you are using too much, they can become too heavy for the natural lashes and will fall faster. You can try to swipe the extension in the glue with a swooping motion. When you see a little pearl of glue on the extension, you probably have the perfect amount.
Using the tips we detailed in this article, you can practice your skills and lash extension applying techniques. Keep these recommendations in mind, always buy quality products and improve your extension procedure every day.


Comments